You can turn that underused space into a comfortable, functional extension of your home without guessing at every step. Start by clarifying your goals, budget, and whether you need permits or professional trades—doing that early saves time and money and prevents costly rework.
This post Basement Renovation walks you through practical planning, smart design decisions, and key construction considerations so you can decide what to DIY and when to hire experts. Expect clear guidance on layout, moisture control, insulation, lighting, and budgeting to help you move from idea to finished space with confidence.
Planning Your Basement Renovation
In Basement Renovations Start by evaluating the physical constraints, realistic costs, and legal requirements so you can make decisions about layout, scope, and timeline with confidence.
Assessing Basement Potential
Inspect for moisture, structural issues, ceiling height, and egress first. Measure finished ceiling height in multiple spots; aim for at least 7 feet clear to avoid costly changes. Check for visible cracks, efflorescence, or a damp smell—these indicate waterproofing or foundation work before finishing.
Map existing mechanicals: furnace, water heater, sewer lines, and sump pump. Note their locations and service clearances; relocating them often becomes one of the largest single costs. Also determine window well sizes and locations to ensure bedroom use with code-compliant egress.
Evaluate natural light, access points, and floor slope. Use a simple bubble level or smartphone app to check slope; a settled slab may need attention. Decide early whether you need a bathroom or kitchenette—these affect plumbing runs, permits, and budget.
Establishing a Budget
Start with a bottom-up estimate: list framing, insulation, drywall, flooring, electrical, HVAC, plumbing, finishes, and contingency. Use local contractor quotes for labor and add 10–20% contingency for unknowns like hidden mold or joist repairs. Allocate funds by priority: safety and systems (waterproofing, mechanicals) first, then essential rooms, then finishes.
Decide whether you’ll DIY parts like painting or install tile to reduce labor costs. Get three written bids for major trades and compare scope, timeline, and warranties—not just price. Track cash flow by staging payments to milestones: demolition, rough-ins, inspections, and final finishes.
Obtaining Permits and Meeting Building Codes
Contact your local building department before work begins to identify required permits: framing, plumbing, electrical, and HVAC are commonly regulated. Request a copy of the relevant code sections or checklist so your contractor’s plans match inspector expectations.
Plan for required safety features: egress windows or doors for bedrooms, smoke and CO detectors hardwired/interconnected, and adequate ceiling height and insulation R-values. Schedule inspections after rough-ins and before closing walls to avoid rework. Keep permit documents and inspection reports organized; they protect resale value and ensure compliance.
Design and Construction Considerations
You should prioritize durable finishes, effective moisture control, functional layout, and vetted contractors to avoid costly mistakes. Make decisions that balance long-term performance with your intended use and budget.
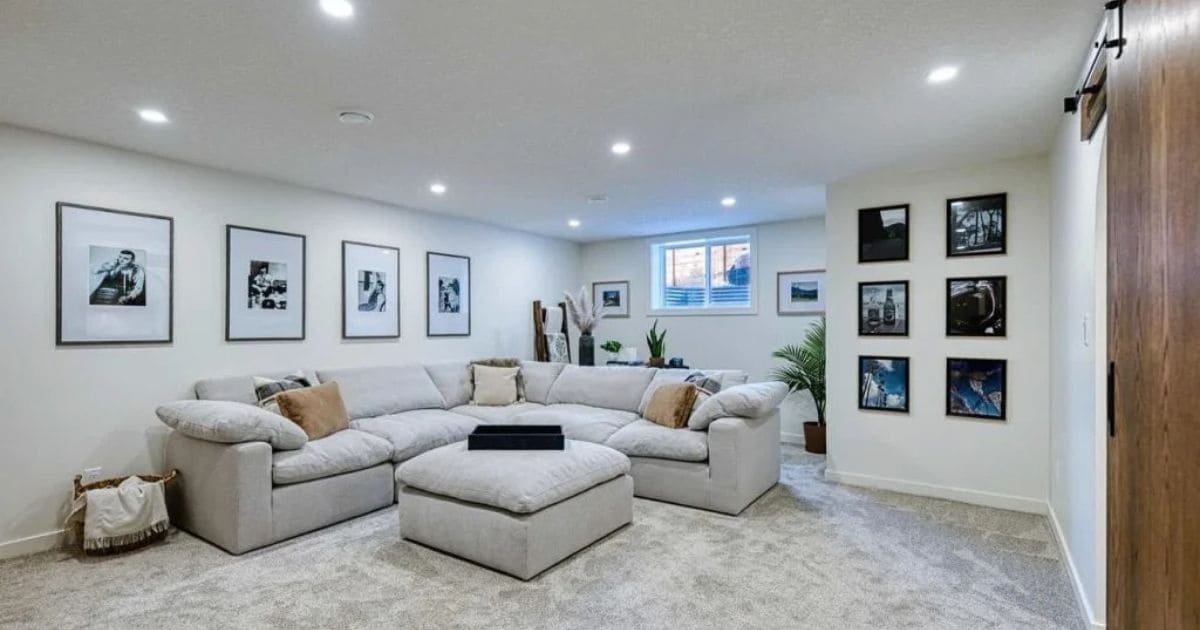
Flooring and Lighting Choices
Choose flooring that resists moisture and wear. Recommended options: luxury vinyl plank (LVP) with a 20–30 mil wear layer, engineered hardwood with a waterproof core, ceramic or porcelain tile, and sealed concrete with epoxy. Avoid solid hardwood unless you install a full subfloor and aggressive moisture mitigation.
Plan lighting to create depth and usable zones. Combine recessed LED cans for general light, dimmable fixtures for flexibility, and task lighting over desks or counters. Add wall sconces or floor lamps in seating areas to reduce glare. If you can, increase natural light with egress windows or light wells; these also meet code for habitable bedrooms.
Install underlayment and transitions that match the flooring choice. Use moisture-rated adhesives and leave expansion gaps where required. For tile, use a cement backer board or uncoupling membrane over a properly prepared slab.
Moisture Control and Insulation
Inspect and fix bulk water issues first: exterior grading, gutter downspouts, and foundation cracks. Waterproofing may require exterior membranes, interior drain systems (French drain with sump pump), or a combination. Test with a moisture meter before installing finishes.
Select vapor-permeable insulation on interior walls when using a drained system; closed-cell spray foam works where you need air-seal and high R-value against foundation walls. For rim joists, seal and insulate with spray foam or cut-and-fit foam board plus sealant to prevent air and moisture entry. Maintain a continuous thermal and air barrier between conditioned basement space and the unconditioned slab or exterior.
Add mechanical ventilation to control humidity. Use an energy-recovery ventilator (ERV) or a dedicated dehumidifier sized for basement volume (pints/day rating) to keep relative humidity below 50% in summer.
Layout and Room Functionality
Define each room’s primary function first: bedroom, home office, media room, laundry, or gym. Each use dictates specific systems: bedrooms need egress and secondary means of escape; media rooms benefit from acoustic treatments and dedicated circuits; laundry rooms require floor drains and venting.
Plan plumbing and mechanical locations to minimize rerouting of drains and vents. Stack wet walls where possible to reduce cost. Place HVAC ducts or a mini-split to ensure even heating and cooling. Consider ceiling height: subtract insulation and finish layers from clear height to confirm you meet local habitability codes.
Design circulation and storage. Use built-in storage under stairs and along foundation walls. Mark clearances for furniture and code-required access panels for electrical and mechanical equipment.
Hiring Qualified Contractors
Verify licensing and insurance before hiring. Ask for a contractor’s license number, proof of general liability insurance, and worker’s compensation. Confirm permits required by your jurisdiction and require the contractor to pull them.
Request references and visit at least two recent job sites. Get a written scope of work and fixed-price bids that break out materials, labor, permit fees, and allowances. Include a payment schedule tied to milestones and hold back a final retainage until after final inspection.
Communicate expectations with a written change-order process. Insist on product specifications for key items (flooring brand and wear rating, sump pump model, HVAC tonnage). Keep copies of warranties for labor and materials.
Beriful do not guarantee the accuracy or completeness of this information and are not liable for any loss, damage, or consequences resulting from its use.